What To Wear on a Boat
Boat attire should be comfortable and functional, but it can also be stylish. Make a nautical fashion statement with a smart-casual ensemble that looks as good as it feels.

Men’s Boating Outfit Ideas
Boating is a great chance to layer clothes for any changes in weather. Add these men’s clothing items to your boating outfit and you’ll look like you were made for sea life!
-
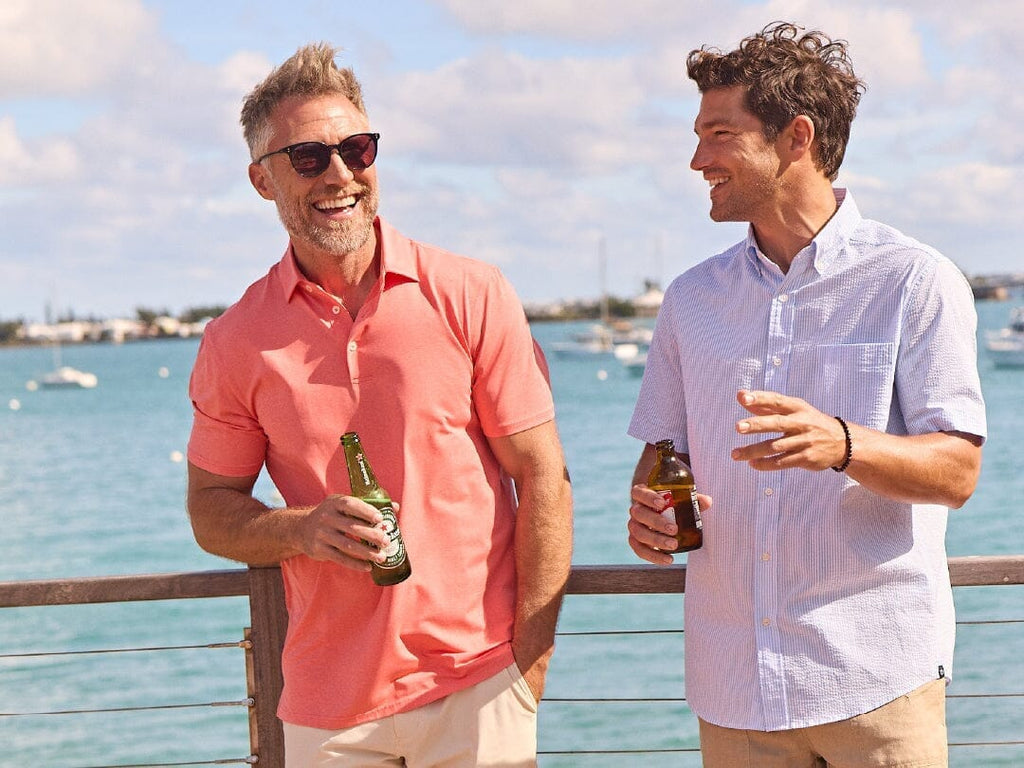
Choose a shirt made with breathable performance fabric, such as a polo shirt or T-shirt, to stay cool all day long.
-
Wear swim trunks for especially warm or wet boat days. If you’re dressing up, choose khaki shorts or casual pants to protect your skin against sun and wind.
-
Add a quarter-zip pullover to your boat bag, or wear it over your shoulders for easy access.
-
Keep your workout sneakers dry and opt for men’s boat sandals, which look great even after getting wet on the desk. (Just remember to sunscreen your feet!)
Women’s Boating Outfit Ideas
Stay comfortable and look chic at the same time with our boating outfit ideas. No matter your style, we’ve got the items you need to protect your skin during the day and stay warm at night.
-
Start with stylish women’s tops made with a stretch fabric blend. Wear one over a one or two-piece swimsuit for those surprise splashes!
-
Pair your top with comfortable pants, or choose a performance dress for warmer days on the boat.
-
Slip on a pair of women’s sandals that complement every boating outfit and feel sturdy over every turn of the sea.
-
For a final touch of both style and warmth, bring a hoodie or pullover in your boat bag or wear it as the last layer of your outfit.

Boat Safety Tips
Whether you’re the captain of your vessel or you’re a member of the crew, knowing how to do a few important boat tasks is helpful — and may even be essential. After you’ve set sail, follow these important boat safety tips to keep the day flowing well.
How To Properly Anchor a Boat
Once you’ve found that perfect spot to stop and go for a swim, it’s time to drop anchor. Before anchoring your vessel, check the depth of the water (most boats have instruments installed that will do this automatically) and take note if there is anything below the surface. You’re aiming for a nice, sandy spot under the water, so steer clear of wrecks, debris, rocks and coral reefs.
When you’re ready and have more than enough chain/rope attached to your anchor (5-7x the depth of the water is recommended), gently toss the anchor away from the boat and let it sink down to the sandy bottom. Secure the anchor rope to the cleat on the bow of the boat with an anchor knot, and consider yourself parked.
Follow Navigation Signs
When your boat is in the water, you may notice a lot of big red and green signs. They’re called channel marker signs, and they let you know which direction to head and where the channel is.
Stay between the signs to ensure that you’re on the proper path. Steering outside the markers could result in hitting a sandbar or other unseen obstacles, such as rocks or debris. If the red sign is on your right, that means you’re returning to shore. If it’s on your left, you’re leaving the shore.
Remember the three R’s: Red, Right, Returning. You can also find unique landmarks onshore to help with directions when you’re heading back in from the water.
How To Tie a Boat to a Dock
When it comes to docking the boat, slow and steady is the way to go. Rules vary depending on where you’re docking, so check with the Dockmaster before you get too settled. Be a good crew member and assist the boat captain by offering to bring out the buoys. Place them on the outsides of the boat, hanging them from the cleats.
Once you’ve docked, secure the boat to the dock cleat using a cleat hitch. Spiral the remainder of the rope and place it neatly on the dock so that no one risks tripping on it. Welcome ashore!

Look and Feel Ship-Shape on the Open Seas
Congrats on stretching those sea legs of yours! We hope to see you making waves again soon, whether you’re going on a cruise or scoping out the best fishing spots in the Southeast. And in case you’d like to extend the invitation next time, we’re always up for a great day on the water.
Disclaimer: Please be safe when boating and take precautions. For more tips on boating safety, visit www.uscgboating.org. People in an emergency and in need of Coast Guard assistance should use: VHF-FM Channel 16 (156.8 MHz), and dial 911.


